With all the flooding and rain we have had in Boulder, all the trails are closed and most of the roads, so road biking, mountain biking & even trail running are all out… So I guess it was the day to build a robot.
 I have been wanting to build a robot that could navigate a maze. We had previously played with the Robo Puppy, but with the casters for feet and the long neck, there was too much floppiness and it just couldn’t move very accurately. Every time you sent a move command to it, it would lurch to one side or the other based on how the caster were sitting at the time. Also the distance sensor was getting confused, I think partly due to be a little too high and partly due to its nose being in the way. Clearly, we needed to start over with the hardware design.
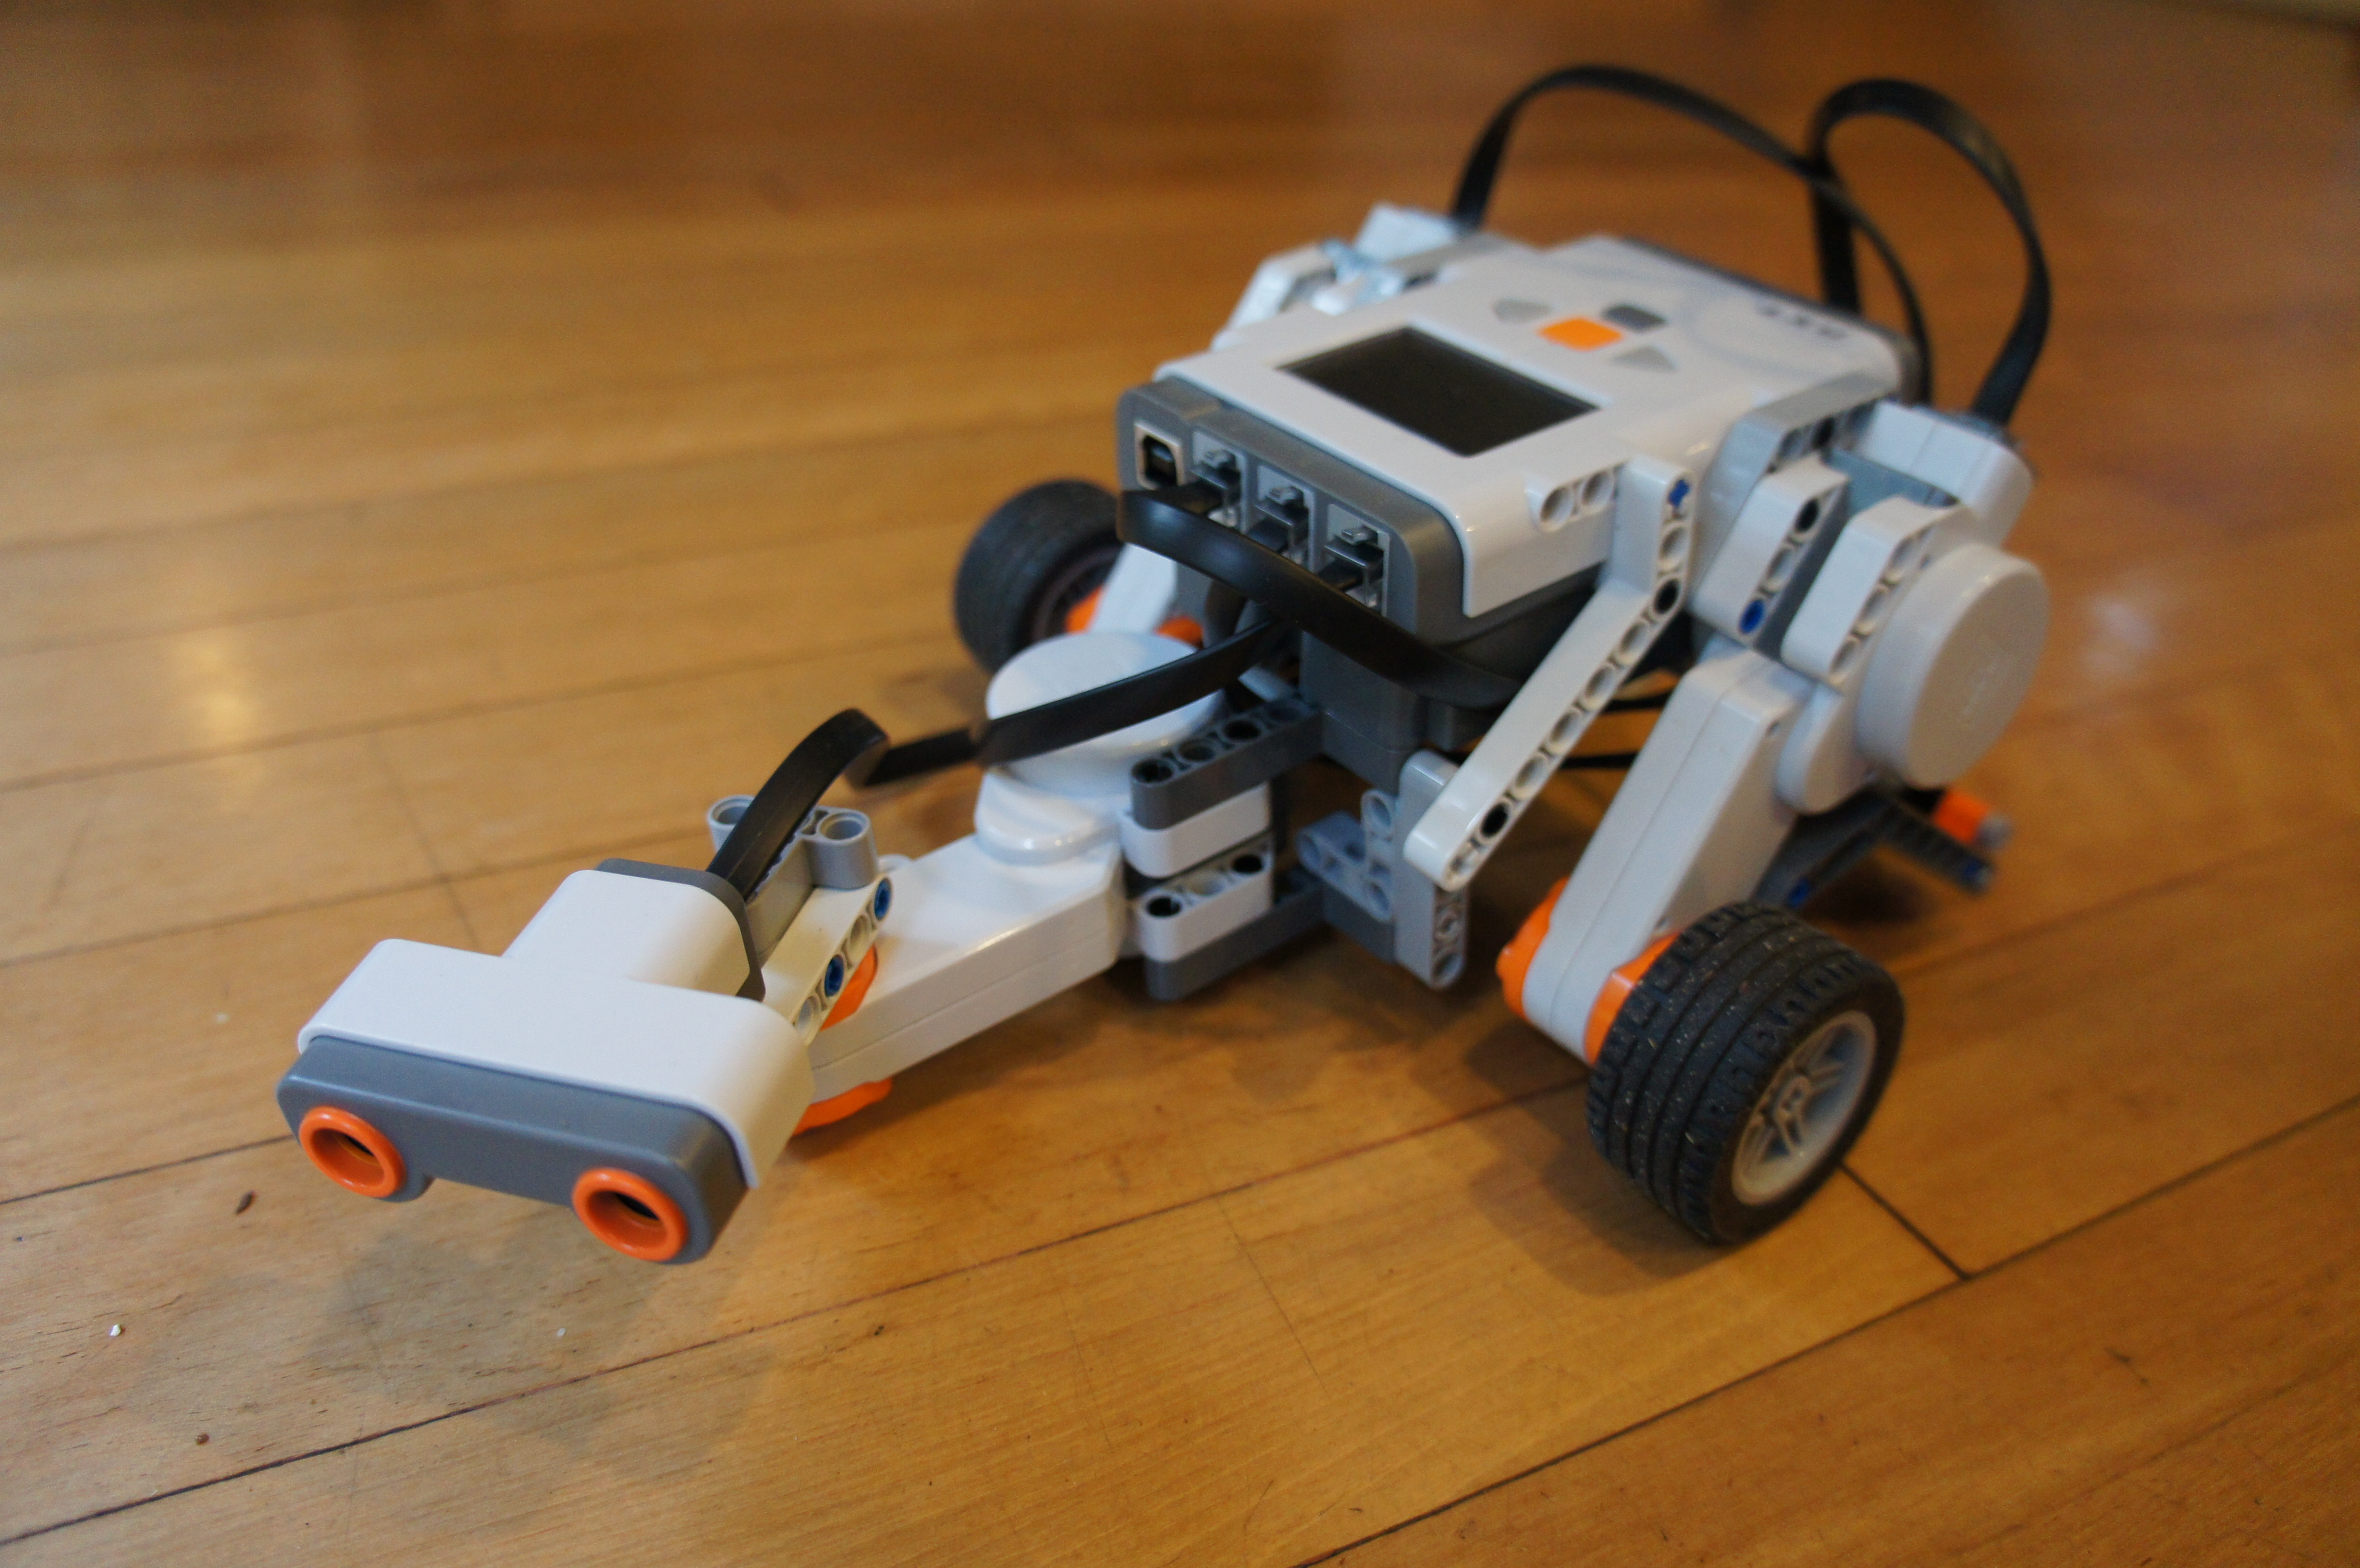
Charley and I sat down with the box of legos to come up with something more reliable. Aesthetics were part of the design goal, just function. The goals were to make it drive and turn reliably and also for its eyes to be on a shorter “neck” and lower to the ground. You can see the new design on the left – its not much to look at, but it works very well. We learned a few things on the way:
We had to reverse the drive wheels to put them on the front. Since the robot is from heavy with the next, the drive wheels didn’t work as reliably on the back. It was pretty easy to pop off the sides and reverse it on the body. We also built it as first with the tank treads, but we were having a hard time making it turn in place. After putting the tires we decided that the extra wheels we better of without tires. On the wood floors, it was better if they just slide around and let the drive wheels do all the work.
 At this point I lost Charley to a video game or something, but Elizabeth got interested for the programming part. The design is pretty simple:
- Move forward until it sees something
- Stop and back up a little bit
- Turn eyes Left
- Measure the distance
- Turn eyes Right
- Measure the distance
- Turn eyes straight ahead
- Turn in the direction (left or right) that measured farther.
- Go back to the beginning.
You can see the “source code” in the screenshot, it is all drag and drop visual programming. So did it work? Elizabeth and I spent a while tweaking the parameters like how far (in wheel rotations) to turn, how much to back up, how early to stop, etc… But in the end, yes – see the video below for proof.

Pingback: Month in Review: September | Ned Harding